Chocolate Cherry Sourdough Bread
 40-60 min
  1 large loaf
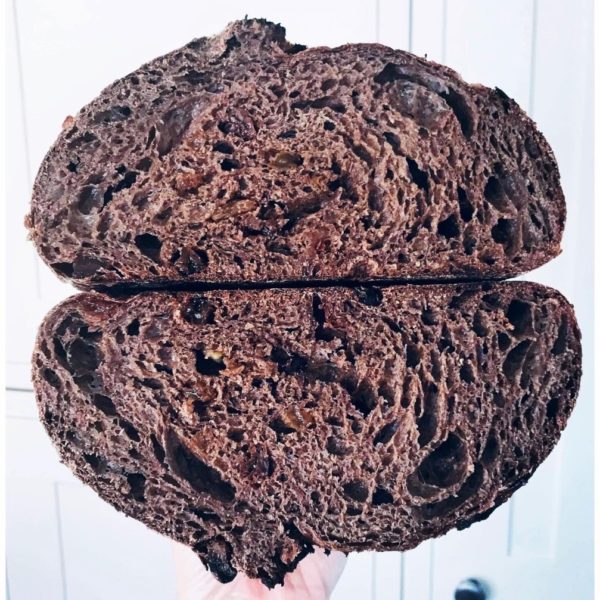
 Sourdough is not just a trend; it’s a very old-fashioned and absolutely delicious way to make bread. Not only made by artisanal bakers, but also celebrated at home. And there is a very interesting way to combine two true loves – sourdough and chocolate, with this moreish Chocolate and Cherry Sourdough bread recipe. The beauty of this recipe is that you can enjoy it as a savoury as well as a sweet treat. And although there are a few too many steps, trust us, this Chocolate Cherry Sourdough will tick all your taste buds’ boxes ✅
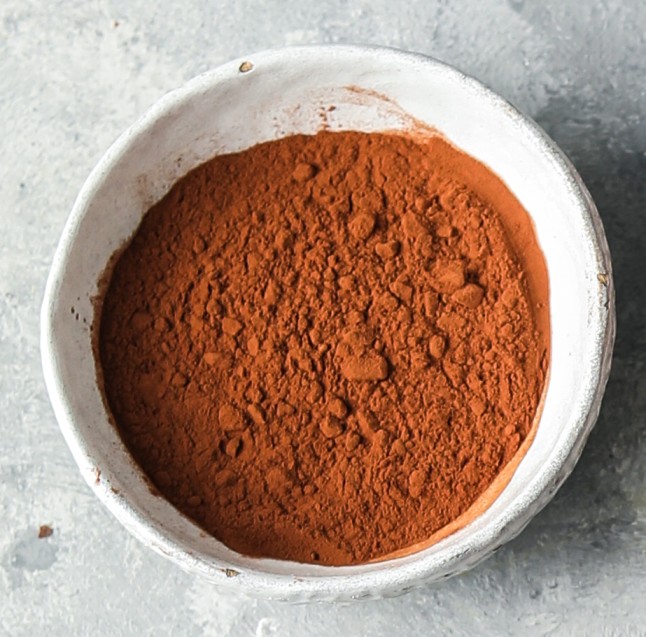
The Chocolate Cherry Sourdough recipe has been created for us by James Hillery, a self-confessed baking and coffee addict, who appeared in Series 8 of the The Great British Bake Off (GBBO). For this recipe, he recommends using Food Thoughts Organic Cacao Powder (although you could replace it with Food Thoughts Organic Cocoa Powder for a milder flavour) and Food Thoughts Roasted Cacao Nibs that add an extra crunch to otherwise lovely bite of this bread.
You will need
- 200g active, fed starter
- 370ml water, tepid, preferably filtered
- 500g strong bread flour
- 60g Food Thoughts Organic Cacao Powder
- 10g sea salt
- 75g dried cherries
- 75g Food Thoughts Roasted Cacao Nibs
- Fine polenta or cornmeal for dusting
Method
In a large bowl, whisk together the water and sourdough starter. Then mix in the flour, cacao powder and salt until it forms a rough dough. Cover with cling film and leave for 1 hour. This is the 'autolyse' period. Basically this hydrates the flour and starts breaking it down and starts to build gluten.
Put cherries in a bowl of warm water to rehydrate a little.
Every 30 minutes for the next 2 hours, grab a portion of the dough, stretch and pull it upwards and then fold it over to the other side of the bowl and tuck under. Rotate the bowl a quarter turn and repeat until you have done it 4 times and the bowl has gone around 1 full turn. On the last set of stretch and folds, incorporate the cocoa nibs and the drained cherries so they are evenly distributed through the dough.
After the final turn, cover with cling film and leave in a warm place to rise until doubled in size. Be patient, this will depend on the strength of your starter and how warm the ambient temperature is.
Once doubled in size, tip onto the work surface and gently fold it into a ball, pulling each side into the middle. Do not worry about knocking the air out before you do this. Flip the ball over, cup your hands either side of the dough and gently turn the ball a quarter of a turn, tightening the dough. Repeat 3 or 4 times to get a nice tension on the dough. Do not worry too much as the fridge trick will help later.
Liberally flour the bread proving basket and pop the ball of dough in it seam side up. Oil some cling film and lay it on top.
If you do not have a proofing basket, oil a 2lb loaf tin and use 3/4 of the dough.
Allow to proof until double in size and pop in the fridge overnight.
In the morning, preheat the oven for at least 30 mins at 240c (220c Fan).
When the oven has been preheated, remove the dough from the fridge.
If making a round loaf: • Pre heat a dutch oven. • Cut a circle of baking parchment larger than the loaf and scrunch it up then flatten out. • Sprinkle the base of the loaf with polenta, lay the baking parchment on top, then place a tray on top of that. • Flip everything over carefully and allow the dough to gently release from the proving basket. Slash the top with a serrated knife. • Remove the Dutch oven from the oven, remove the lid (carefully as it will be red hot), pick up the loaf on the baking parchment and drop it into the Dutch oven. Replace the lid and put it in the oven for 20 minutes. After 20 minutes, remove the lid and bake for a further 30-40 minutes, depending on how dark you like the crust. • Remove from the oven and carefully take the loaf out of the Dutch oven (I use a couple of spatulas) and cool on a wire rack.
If making a tin loaf: • Pop into the pre heated oven for 40 minutes. • It is best to let it cool thoroughly before cutting.


